Free-Space Optical Communications
Sewer-Pipe LED Projector
Two-lens concentrator projects a beam from a high-intensity LED,
an easier-to-point alternative to a laser pointer.
High-intensity LEDs are more powerful than laser pointers and just as easy to modulate, safer and cheaper than higher-powered lasers. A disadvantage is the added hassle required to concentrate the light from a LED into a beam. This LED-based projector can be used for free-space optical communications. It's built using a high-intensity LED, a primary concentrating lens mated to the LED, some 3" (80mm) PVC sewer pipe and a surplus 2.9" (73mm) eyeglass lens.
Read the Rationale for the Project
Equations and everything..
Building the Projector
The Main Parts
- 1 - High-intensity LED - Cree XR7090RO red-orange w/heatsink - superbrightleds.com
- 1 - ±4° LED spot lens - Ledil CA10324_Rocket-SS, Digikey 711-1053-nd - Digikey.com
- 1 - 73mm, +3.5 power lens - All Electronics LNS-17 - allelectronics.com.
Note: The LNS-16 (3.0 power, 73mm diameter, 333mm FL) lens from All Electronics is a better choice for the Sewer Pipe Projector project. The dimensions would need to be recalculated per the rationale article.
More Parts
- 1 - 3" I.D. (80mm) sch. 40 PVC pipe
- 1 - 3" x 3" (80mm x 80mm) PVC pipe coupler
- 1 - 3" x 1.5" (80mm x 40mm) PVC pipe coupler/reducer (needed only if required to mount heatsink)
- 1 - homemade lens mounting ring, 3.4" O.D., 2.75" I.D. (86mm x 70mm)
- 2 - 4.5" (114mm) hose clamps
- 1 - short piece of 35mm x 15mm DIN rail
- 1 - 1/8" x 1/2" steel strap (or 15mm x 5.5mm DIN rail), approx. 6" (150mm) long
- 1 - 4x15 air rifle scope w/mounting rings - Daisy, etc.
Heatsink
- Any heatsink with a flat surface large enough to allow the LED heatsink to be glued to it and large enough overall to allow attachment to the pipe.
Cree XR7090RO Super-Bright LED
The red-orange LED was chosen because its light output is higher than the red wavelength LED, and because detector sensitivity at the receiving end is higher than at the bluer wavelengths.
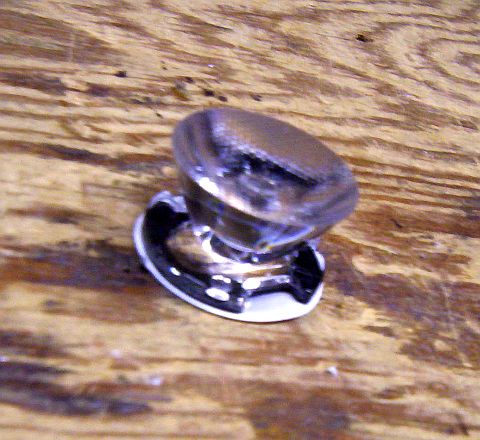
The Primary Lens
Ledil CA10324_Rocket-SS
It looks like a parabolic reflector.
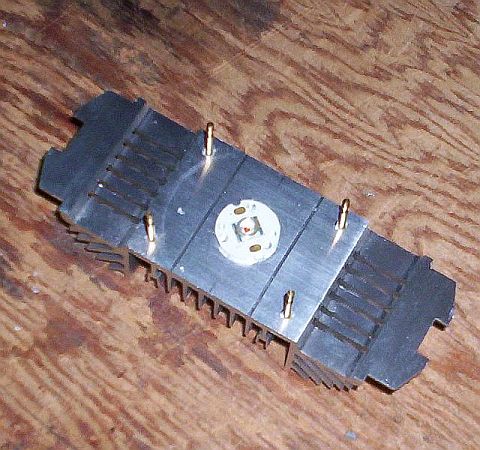
The Heatsink
This heatsink once cooled the CPU in a computer. By pure coincidence, the pins on the heatsink fit perfectly over the small end of a 3" x 1.5" PVC reducing coupler.
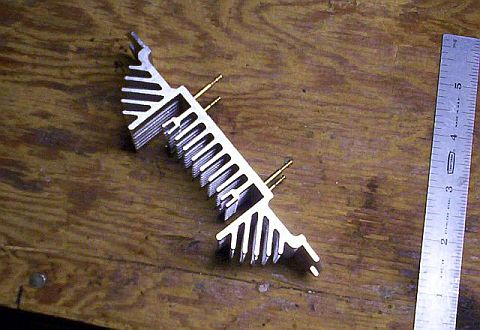
Any number of heatsinks would work in this application. Here are some others that were considered.

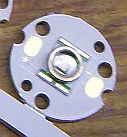
The LED Glued to the Heatsink
w/RTV silicone, centered.
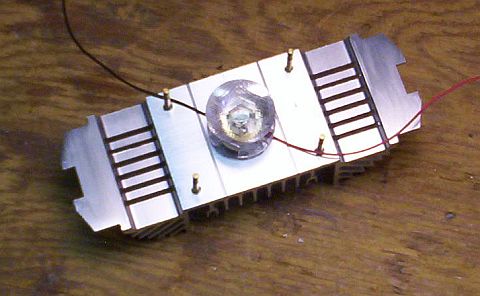
The Primary Lens Attached to the LED
The lens is glued in place with RTV silicone. Note that wires have been attached to the LED.
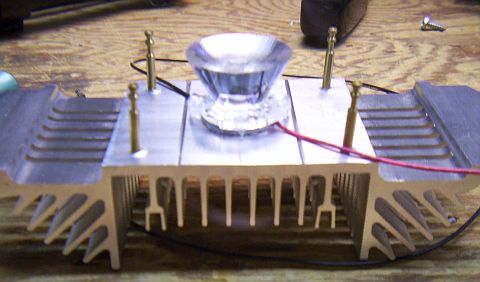
Closer
The face of the lens is 5/8" (16mm) above the heatsink.
The Secondary Lens
It's a 2.9" (73mm) 3.5 power eyeglass lens blank.

The secondary lens is not quite large enough to cover the opening of the 3" PVC pipe so a spacer ring had to be made. It's cut from the lid of a plastic storage container. Any similar material would work as well. The inside diameter of the ring is 2.75" (70mm), the outside diameter is 3.4" (86mm).
Marking the Outline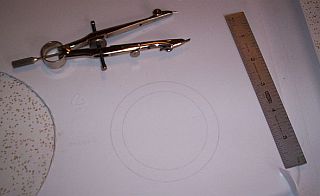 |
After Cutting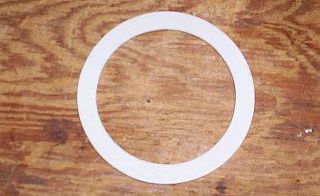 |
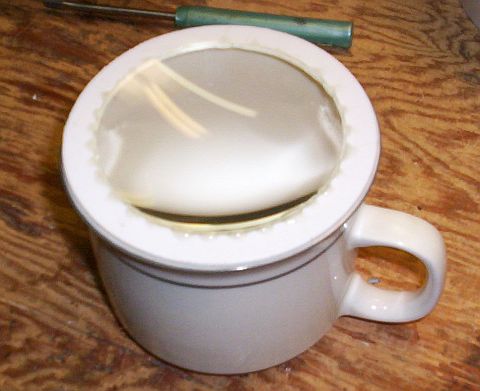
The Secondary Lens is Glued in the Spacer Ring
The ring was perched on a coffee cup for the glue job. The gluing was done in two stages. First a bead of cyanoacrylate (super glue) was laid around the inside of the ring, allowed to set for a few minutes and the excess glue wiped off. Then the lens was put in place and glued to the ring with 5-minute epoxy.
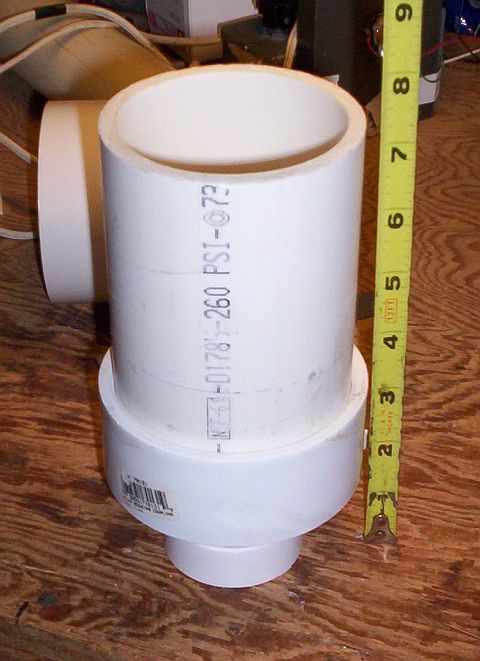
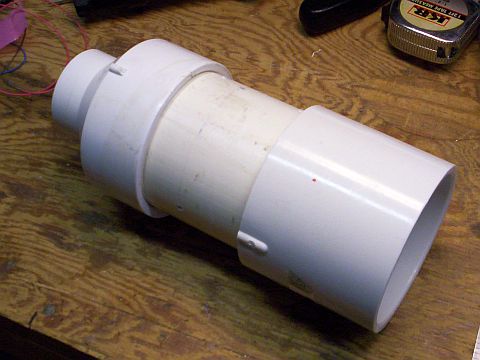
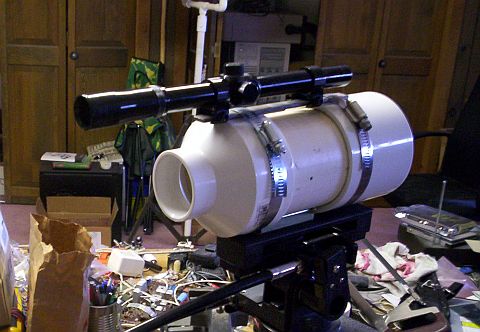
Sewer Pipe Measured and Cut
Total length of the pipe plus the reducing coupler is 7 5/8" (194mm). The face of the primary lens (where the diameter of the lens is measured) is 5/8" (16mm) above the face of the heatsink (which will attach to the reducing coupler). That distance is added to the 178mm calculated distance from the primary lens to the secondary lens.
The secondary lens is placed on the end of the sewer pipe
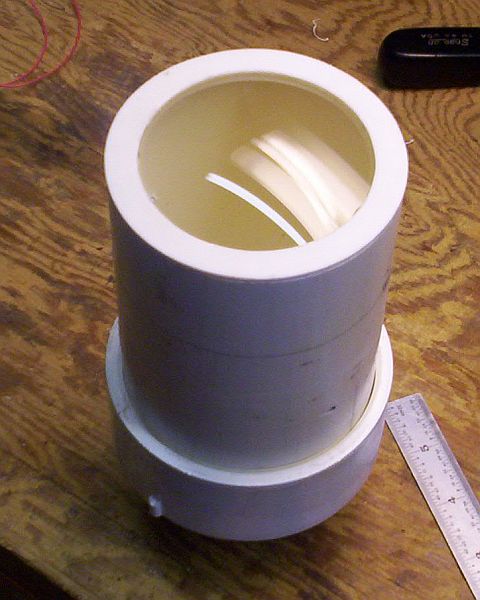
The coupler is then pressed onto the end of the sewer pipe
The coupler and lens are held in place by friction. Gluing the pipe parts is not necessary.

Another View
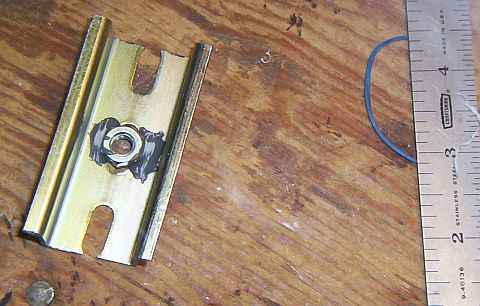
Some (35mm x 15mm) DIN Rail
It's about 2.5" (63mm) long. Note the 1/4" nut glued to the center. This will provide the means to mount the projector to a tripod.
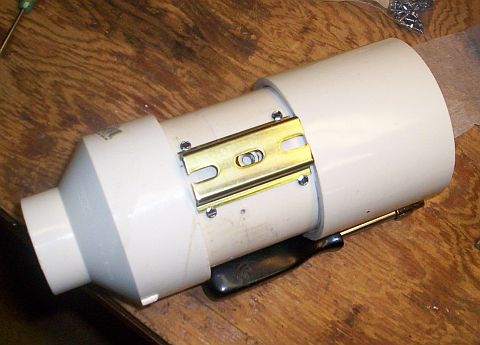
DIN Rail Screwed to Sewer Pipe
w/#4 x 1/2" self-tapping screws.
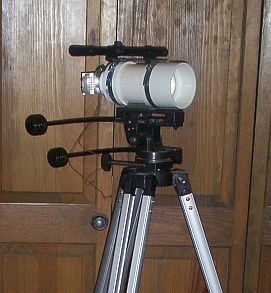
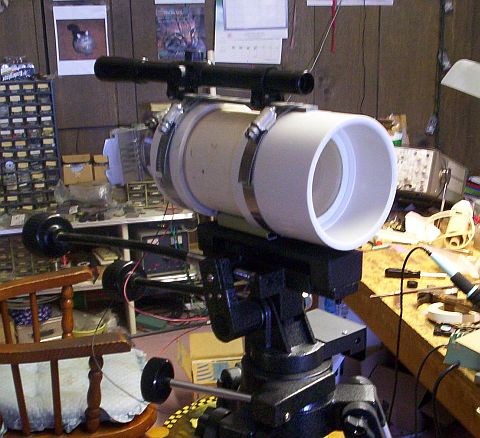
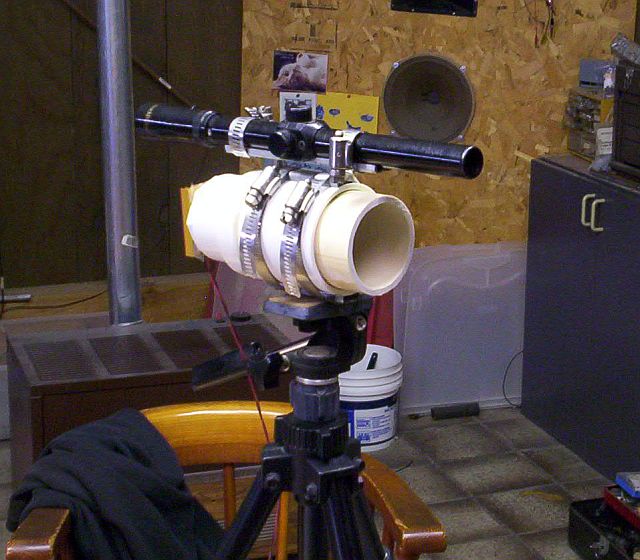
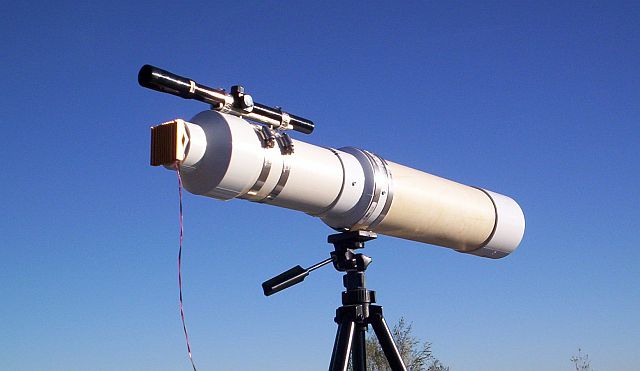
Mounted on Tripod
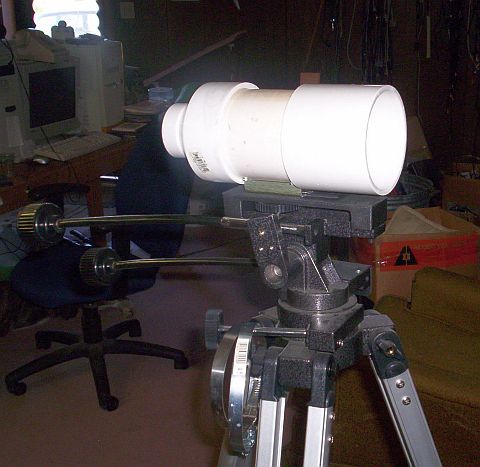
Scope On
The scope is mounted on a 6" piece of 1/8" x 1/2" steel strap, held on the sewer pipe with hose clamps.
Heatsink Mounted
With a hose clamp in this case. The four pins on the heatsink made it simple.
A different heatsink would have required a different mounting method - glue, screws, etc.
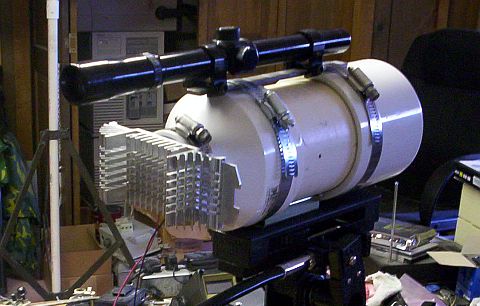
Another View
Adjusting the Pointing Scope
The LED projector is pointed at a nearby target and the center line of the pointing scope is adjusted so as to be parallel to the center line of the beam from the projector.
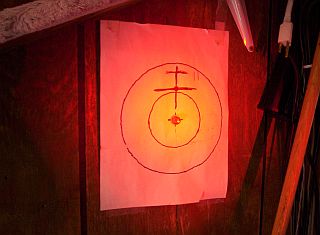
The center of the bullseye is where the LED beam points. The top cross is where the scope is pointed. The position of the cross - the distance from the center of the bullseye - is determined by adding one half the diameter of the LED projector to the distance between the pointing scope and the projector to one half the diameter of the scope. For the as-built projector, the numbers are 4", 1/2" and 3/4" (101mm, 12.5mm, 19mm). The cross is placed 2 7/8" (72.5mm) above the target bullsye. The scope's elevation (vertical) and windage (horizontal) adjustment screws are turned to place the crosshairs on the upper cross. (The lower cross on this target is for pointing a different device.)
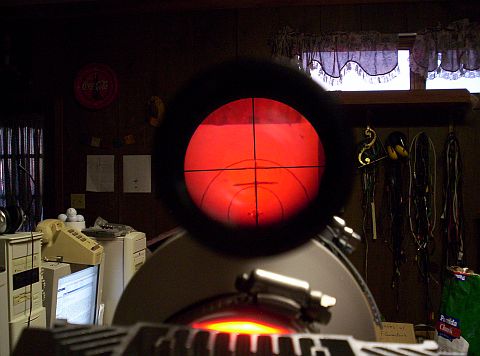
For a more precise adjustment, a light dependent resistor (LDR) is used. The object in the center of the target is the LDR. (Almost any LDR will work here, the All Electronics PRE-12 for example.) The resistance of the LDR is monitored with a multimeter and the LED projector adjusted for minimum resistance (the resistance of a LDR decreases as the amount of light falling on it increases). The scope is then adjusted to place the crosshairs on the upper cross.
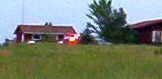
The LED Projector at 1000' (305m)
The operating LED projector is left of center.
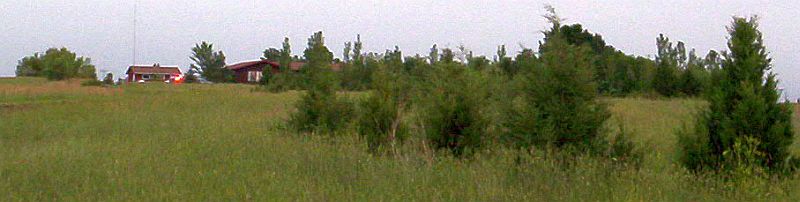
The lens system provides about 30 dB gain over the bare LED. Communication range using the laser beam concentrator at the receive end is about 1/2 mile (800m). For reference, we acheived 6.5 miles (10500m) with the laser pointer.
Here's a Smaller Version (51mm) LED Projector
The same primary lens is used. The secondary lens diameter is 51mm (2"), f is 143mm and f/N is 2.8. The secondary lens was made by grinding two of the 73mm eyeglass lenses down to 51mm and placing them back-to-back in a 2" PVC coupler. The combined lenses cut the focal length (f) in half. This version projected a broader beam than the 73mm version above - so broad in fact that the pointing scope is not really needed. Communication range with the laser beam concentrator at the receive end is about 1/4 mile (400m).
Here's a Larger Version (101mm) LED Projector
The same primary lens is used. The secondary lens diameter is 101mm (4"), f is 724mm and f/N is 7.2. The secondary lens was made by trimming a larger Fresnel lens to 4" and placing it between the end of the 4" PVC pipe an a 4" PVC coupler. This version is not as efficient as the versions shown above, but the much longer focal length (f) of the secondary lens results in a narrower beam. Communication range with the laser beam concentrator at the receive end is about 1 mile (1600m).
Projector in a Box
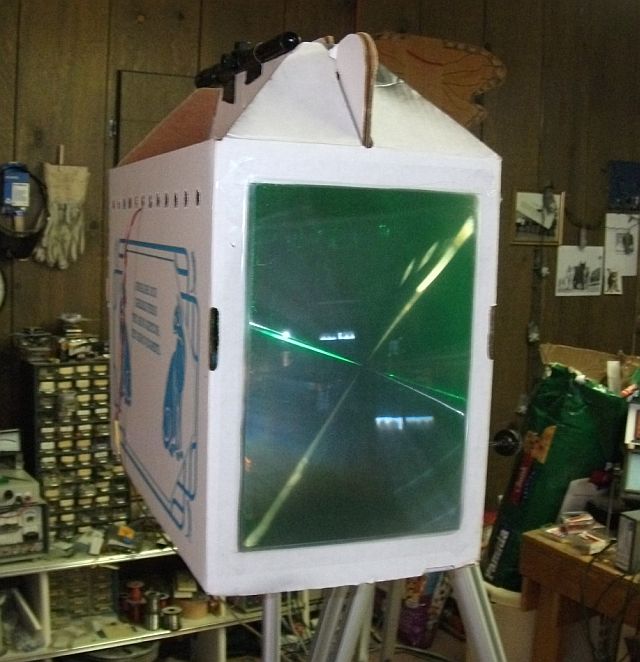
The box was once used to bring a cat home from the local animal shelter. Note the pointing scope taped to the top. This projector does not use a "pre-narrowing" lens on the LED. The rectangular thing in the front is a Fresnel lens. It's about 250mm on the long side, f is about 280mm, and f/N is about 1.1. While the design is far from optimal for efficiency, the relatively long focal length of the Fresnel lens combined with the bare, non-pre-narrowed LED means that it projects a narrowly disbursed beam - in the neighborhood of 0.4°. The LED is green in this case. It can be seen at a great distance, but we never checked out the communications range. The green color is not optimal for the receiving detector.
The Bottom Line
None of these LED/lens system devices acheived the range of the laser pointer, but they do have the advantage of being much more forgiving of misalignment. A cheap air rifle scope is perfectly adaquate for pointing in all but low-light situations. The laser pointer, on the other hand, is exquisitely sensitive to misalignment.
