|
Electronic Construction/PICAXE Microcontroller/Apache Server/PHP and Perl Programming PICAXE Gets Outside Temperature Data,
|
|
I don't suppose the temperature in Wheatland, Wyoming (USA) is of much interest to you, but in case it is, the current temperature is 85.5°F (29.5°C). The purpose of this article is not to show how cold or warm this particular speck on the map is, but to present another interesting application for a PICAXE microcontroller mated to a webserver. This application is similar to the server room temperature application presented in the previous article, PC Communicates with the PICAXE and the INTERNET, but goes on to show how the PICAXE, mated to an LM34 temperature sensor, can be used to gather outside temperature data. The CGI (Perl) script used to interpret and collect the data, along with some PHP coding that presents the data on a webpage in graphical form is shown on a separate page. You may find on these pages ideas useful in other PICAXE/server analog data gathering applications. A working example of how the current temperature and 24-hour graph can be incorporated into a web page is shown below. Again, the idea is not to show spiffy webpage design, only to demonstrate the PICAXE application. A description of the hardware begins below the webpage example. |
Graphical Webpage - Working Example |
Hardware DescriptionHere's how the PICAXE (08M) and LM34 are wired: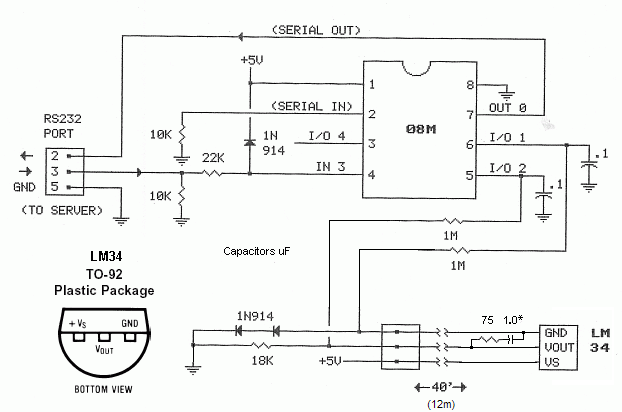 suggested for cable lengths greater than 10'(3m). Notice that the "Serial In" pin (pin-2) is connected only to a 10k pull-down resistor. This is the pin that would normally be used to program the 08M, but is not actually needed to run the application. The 08M chip in the as-built working circuit was programmed on a separate, socketed board (the board shown in a previous article: Communicate with the PICAXE) and then pulled from its socket and installed in the working, as-built, board. If it's desired that the working board have programming capability, the serial programming components can be installed. Unlike the Server Room Temperature application, two of the 08M's analog-to-digital converters are used (input pins 5 and 6) to acquire the outside temperature data. The two A/D converters are operated differentially. This is done to provide some noise immunity and to allow the temperature sensor to operate below zero degrees. The two 1N914 diodes, connected from the ground pin of the LM34 and system ground, raise the voltage on the ground pin a couple of diode drops above system ground. The sensor, wired as shown, will indicate down to about -55°F (-48°C). The LM34 (the °F version) sensor was chosen over the LM35 (the °C version) for the project because it provides finer resolution and greater low-end range. The conversion from °F to °C is easily accomplished in software. Here are Some PicturesWires were soldered to the LM34 sensor leads. 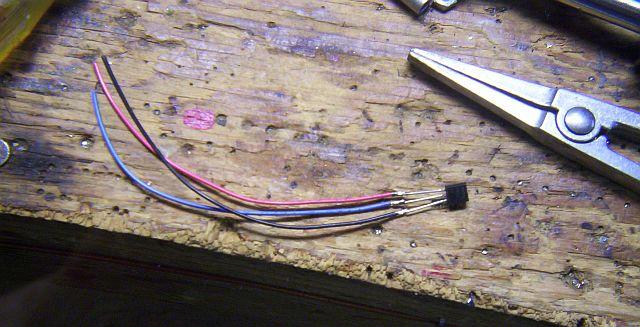 The leads were insulated with heatshrink tubing. 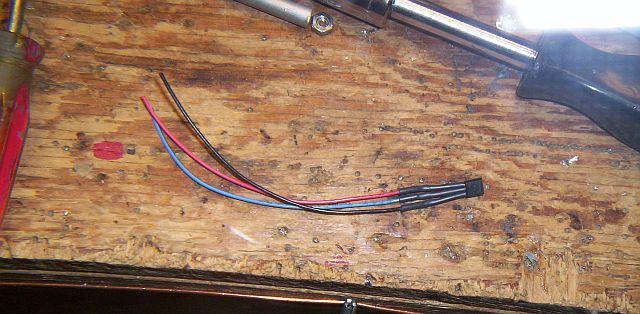 The sensor was slid into a brass spacer (1/4" x 1").. and glued in place and waterproofed with RTV silicone. The brass spacer was then slid into a plastic gear and the gear glued to a square piece of phenolic board. (This is all junk from my junkpile.) A transistor heatsink (the thing with the fins) was slid over the brass spacer. The heatsink assures the temperature sensor operates at the same temperature as the surrounding air. 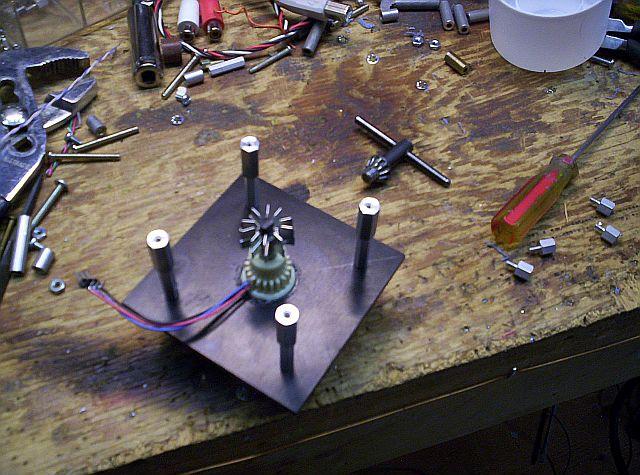 The sensor assembly was then mounted to a length of 3/4" (ID) PVC pipe and plastic bowls were used to cover the sensor. The bowls serve to shield the sensor from direct exposure to radiant heat from the sun. 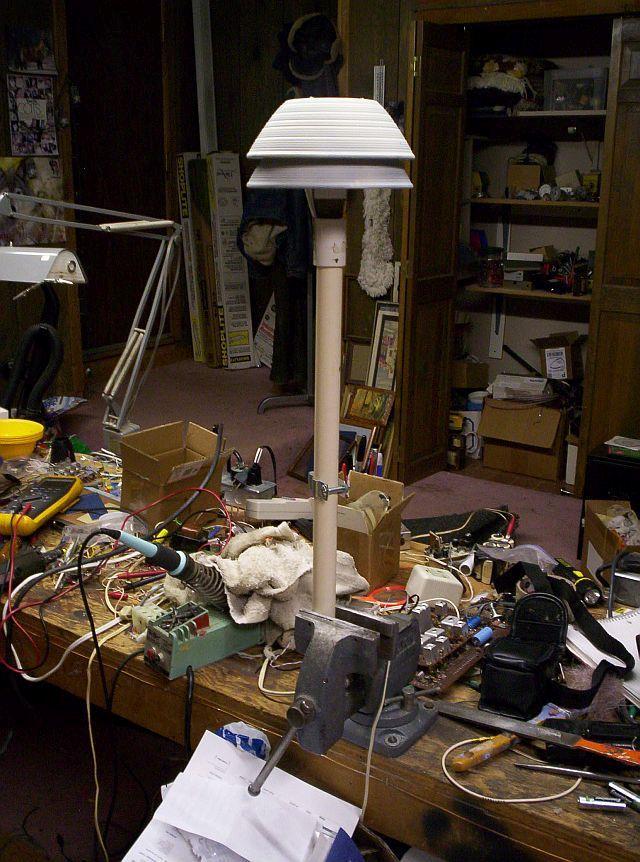 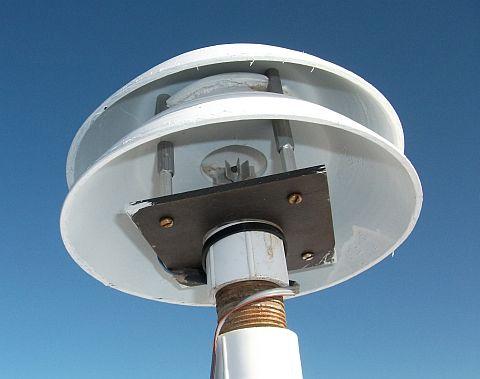 Here's the sensor assembly mounted outside. The sensor connects to the PICAXE interface inside the house through 40' (12m) of 3-conductor ribbon cable. 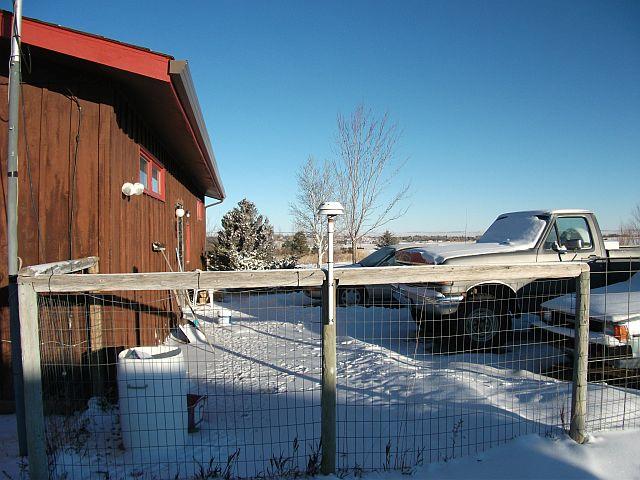 Here's the as-built PICAXE interface board. The right 3-pin header connects to the temperature sensor. The left 3-pin header connects to the serial interface cable. 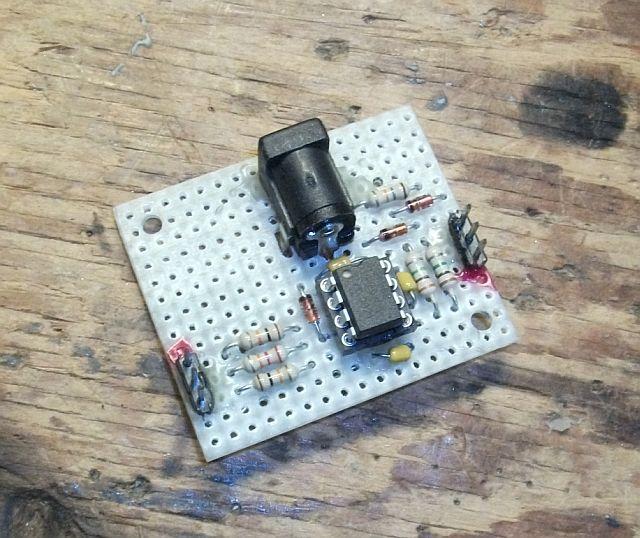 The interface board is mounted in a small plastic box. The center cable connects to a regulated 5-volt wall wart. 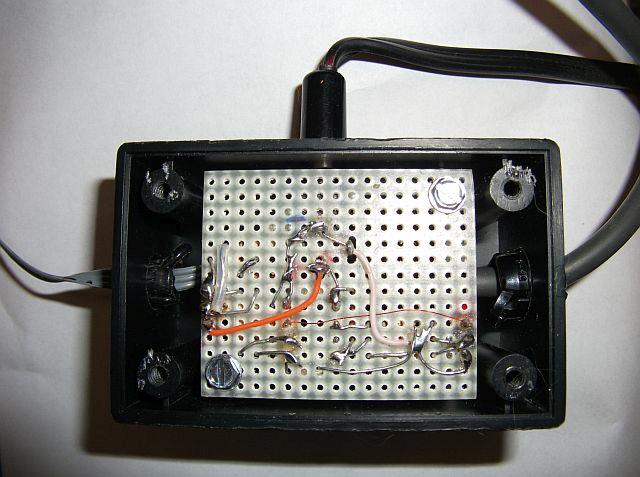 The interface box hangs on the back of the server. The interface cable connects to one of the server's serial ports. 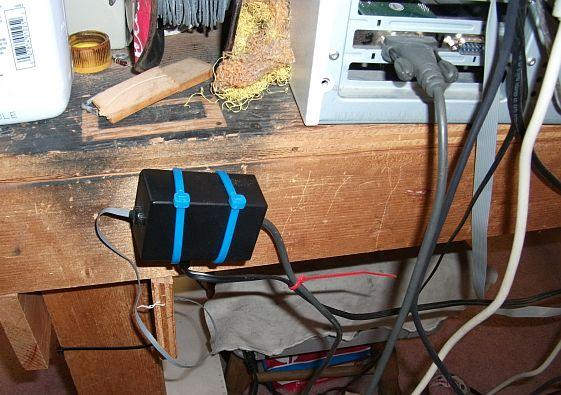 Server Configuration and SoftwareAs with the previous PICAXE/server applications, getting the project up and running involves several areas:
If you're interested in seeing the code and server configuration, click: Schematics produced with DCCAD. top ↑ Picaxe Related ProjectsCommunicate With the PICAXE
LM34/35 Related ProjectsTemperature-Compensated Solar Battery Charger |
